How to Use Foreground Interest to Improve Landscape Photos
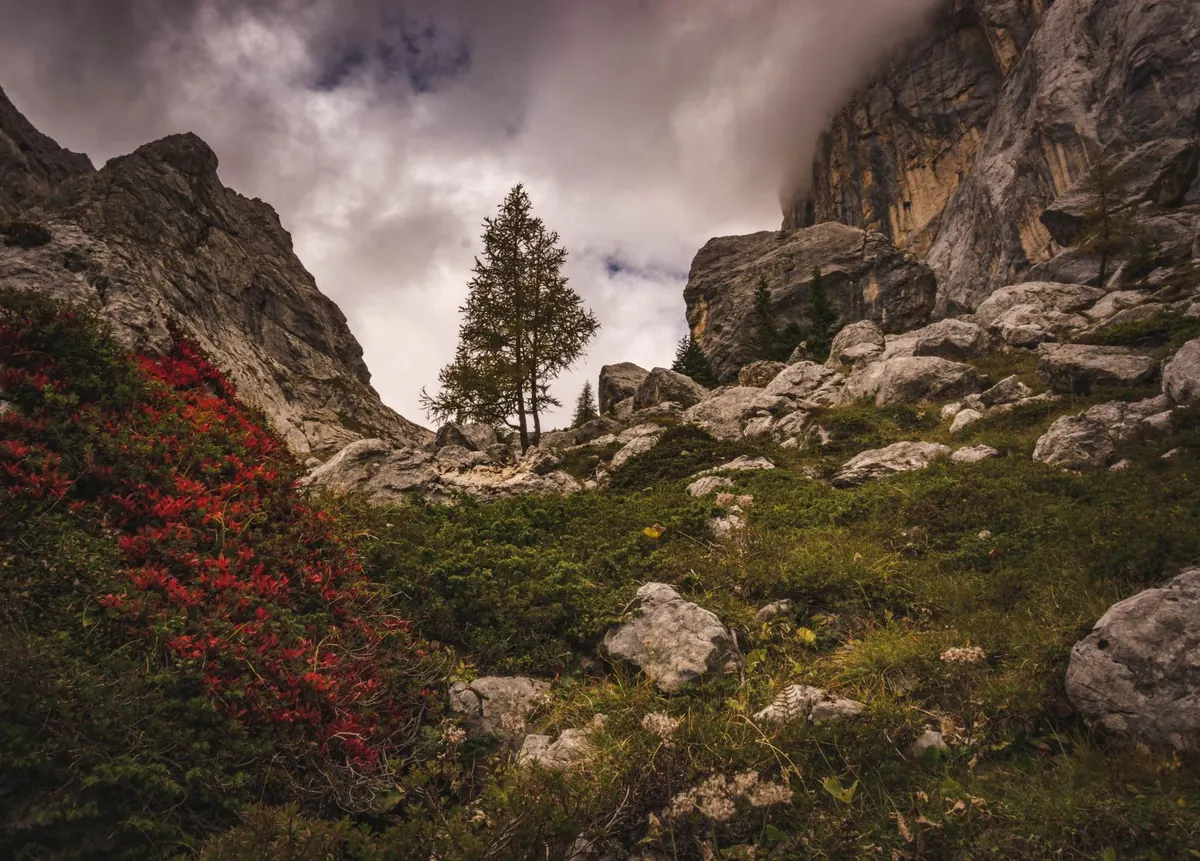
The most common reason a landscape photograph feels flat has nothing to do with the light or the location. It is that the frame has no near. Everything sits at the same distance — hills stacked behind hills, all of them small, none of them close. Add one rock, one clump of grass, one wet stone in the corner, and the picture suddenly has a floor. Your eye has somewhere to stand.
Foreground interest is simply the nearest meaningful thing in your composition, the element between the camera and the view you came for. When it works, it does three jobs at once: it creates depth, it gives the distant landscape something to be measured against, and it slows the eye down so it travels through the frame instead of skimming across it.
Look Down Before You Look Up
Most photographers arrive at a viewpoint, plant the tripod where everyone else plants theirs, and start shooting the horizon. The foreground gets whatever happens to fall at the bottom of the frame. Reverse that order. Walk the location for five minutes, looking down as much as out. The best near element is usually within three or four strides of where you would naturally stand: a cracked slab of stone, a tussock bending in the wind, a shallow puddle holding a piece of sky.
Then think about camera height, because this is where foregrounds live or die. A tripod at eye level looks down on your near element and squashes it. Drop the legs to knee height and that same rock now sits level with the horizon, filling the lower corner and pulling the eye inward. With a wide lens, a rock a metre away reads as distant and small; bring it to half a metre and it becomes a proper anchor. There is no magic number. Kneel, look, adjust, and check the back of the camera rather than trusting what you think you saw.
Rocks: Weight, Texture, Direction
Rocks are the most dependable foreground in landscape photography. They do not move, they hold detail, and they read as mass. Look for a stone with a lit face and a shadowed side, since that contrast stops it looking like a grey blob. Wet rock is even better — darker, more saturated, and often faintly reflective.
Placement matters more than the rock itself. Centred at the bottom edge, it splits the frame in two and blocks the view. Pushed to the left or right third, with its leading edge angled toward the main subject or the brightest part of the sky, it becomes a guide rather than an obstacle. Diagonal lines in layered rock are especially useful: they give the eye a ramp upward.
Plants and Grasses: Softness and Movement
Foliage does something stone cannot. A single stem, a fern frond, a patch of marram grass all bring softness to a frame that might otherwise be all hard edges, and in a breeze they bring motion. Backlight is your friend here; low sun through a leaf lights the edges and separates the plant from the ground behind it.
Shutter speed decides whether that movement helps or hurts. If you want the grass sharp, use roughly 1/250 second or faster. If you want it blurred into a soft wash of colour, go to 1/15 second or slower and hold the camera still. Speeds in between tend to look like an accident rather than a decision. Also check where stems meet the frame edge — a plant sliced in half by the border looks careless.
Water: Mirror or Texture
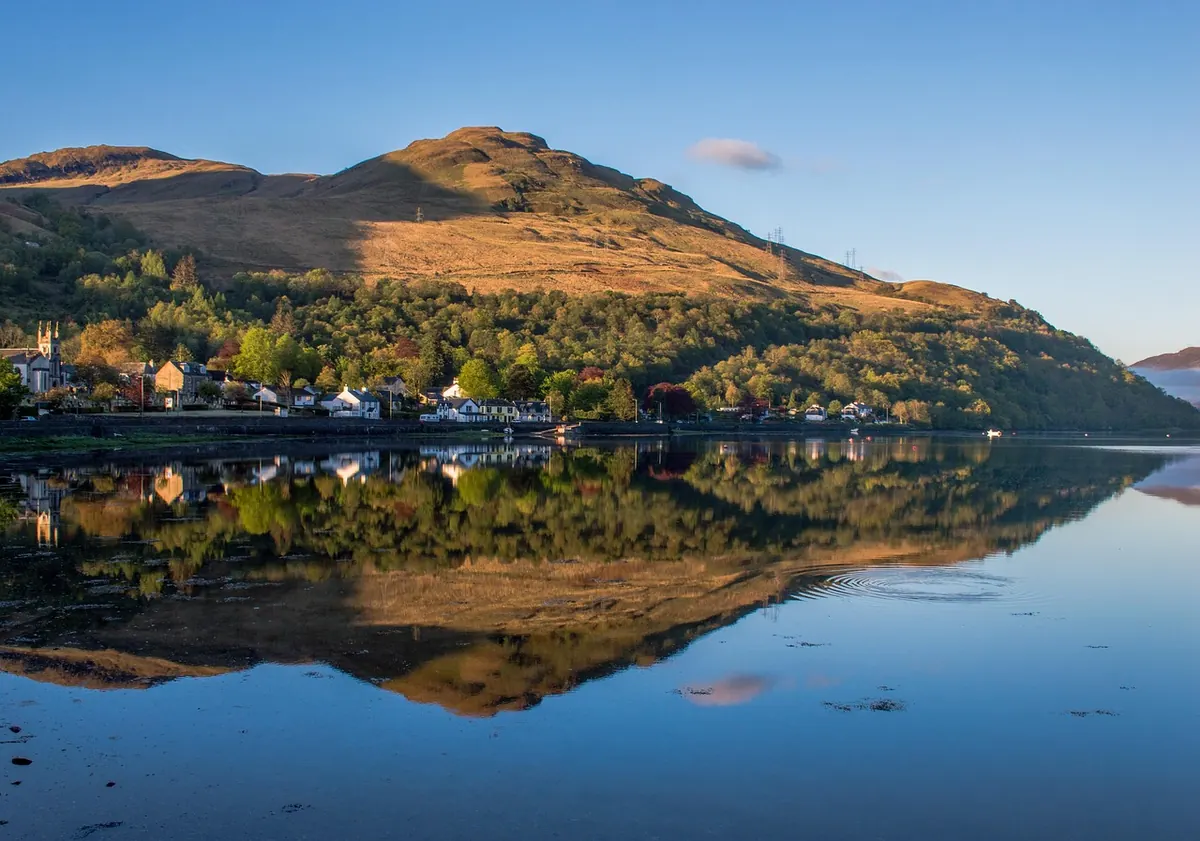
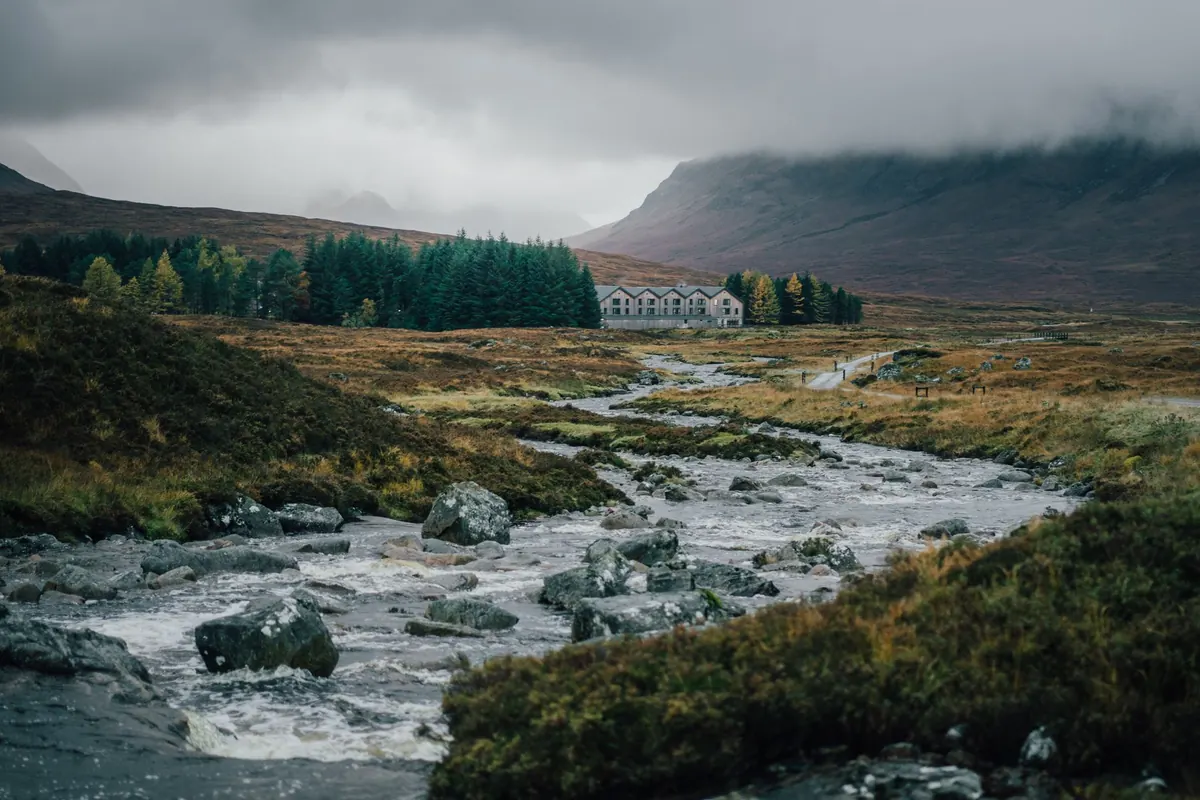
Water is the most flexible foreground there is, because you choose what it becomes. A still pool mirrors the sky, so compose it deliberately: place the reflection of a peak or a cloud directly beneath the real thing and the frame gains a symmetry that feels considered rather than lucky. A stream at a fast shutter speed gives bright droplets and sparkle; at two seconds with a neutral density filter it turns to mist.
Two cautions. A puddle is often brighter than the land around it, so meter carefully and expect to darken it in processing. And a polarising filter will control glare on wet stone or water, but on a very wide lens it can darken one side of the sky more than the other — rotate it, watch, and back off if the sky goes patchy.
Paths, Fences and Other Lines
A path, a fence line, a boardwalk, a fallen log, a line of footprints in sand: these are leading lines with a job to do. Start them in a corner rather than dead centre, and make sure they actually lead somewhere worth arriving at. A track running straight from the bottom edge to the horizon will cut your picture in half. A track that curves through the middle distance will carry the eye with it. Curves almost always beat straight lines, because they hold attention longer.
Checks Before You Press the Shutter
Foregrounds bring focus problems with them, since the near element and the far mountain may be metres apart in distance and still need to be sharp. Run through this list each time:
- Focus: focus a third of the way into the scene, or use hyperfocal distance, or take two or three frames at different focus points and blend them later.
- Aperture: f/8 to f/16 covers most situations. Past f/16, diffraction starts softening everything, which defeats the point.
- Edges: scan the border of the frame. Anything half in or nearly out will nag at the viewer.
- Horizon: level, and not cutting through an awkward part of your subject.
- Bright spots: a small white patch in a corner pulls the eye away from where you want it. Shadow it with your body, or reframe.
- Exposure range: if the sky is far brighter than the foreground, bracket your shots and blend, or use a graduated filter.
- Variations: shoot both horizontal and vertical, plus two camera heights, before you move on.
When to Leave It Out
Not every photograph wants a foreground. If a big dark shape is eating a third of the frame without adding anything, take it out. This is most obvious with long-lens work, where compression of distant ridges is the whole point and a near element would only interrupt it. Foreground interest is a tool, not a rule.
Put It Into Practice
Give one session to a single rock. Photograph it from knee height, then waist height, then eye level. Move it from the centre to the left third, then into the corner. Shoot it with a wide lens and again with a longer one. Then pick a different stone and repeat.
The point is not the rock. It is training your eye to treat the near ground as compositional material instead of something to walk over on the way to the view. Do that for a few outings and the habit sticks. Next time you stand at a famous viewpoint, you will already know where to look first. Down.
Photo: Cătălin Todosia / Pexels