ND Filters Explained for Landscape Photography: When and How to Use Them
Most landscape photographs are made in light you cannot control. You can wait for it, walk away from it, or you can put a very dark piece of glass in front of the lens and bend it to your will. That is the whole idea behind a neutral density filter: it removes light without changing the colour or the character of the scene, which leaves you free to choose a shutter speed the day would otherwise refuse to give you.
On a bright morning at a loch, ISO 100 and f/11 might leave you at 1/250sec. Fine for a sharp record of the view. Useless if you want the water to look like poured milk or the clouds to drag across the frame. An ND filter is how you get from one to the other.
What an ND filter actually does
ND filters are measured in stops, and a stop is simply a halving or doubling of light. A 3-stop filter passes one eighth of the light. A 6-stop passes one sixty-fourth. A 10-stop, often called a big stopper, passes roughly a thousandth — enough to turn a 1/125sec exposure into eight seconds.
That arithmetic is the point. A polariser removes glare and costs you a stop or two; an ND filter is not about colour or contrast at all. It is about time. You reach for one when the shutter speed you need is slower than the light allows, and you would rather keep your aperture where the lens is sharp than stop down to f/22 and soften the whole frame to diffraction.
Neutral is the promise, and it is worth checking. Good filters hold colour; inexpensive ones can push a magenta or blue cast into long exposures. That is fixable in editing, but it is tedious to correct on every frame, so test a new filter on a plain grey sky before you trust it.
The types worth knowing
- Solid ND. Even density across the whole frame, from 1 stop to 15. This is the workhorse for water and cloud movement, and the one most landscape photographers own in two strengths.
- Graduated ND (GND). Dark at the top, clear at the bottom, with a transition between. Useful when the sky is far brighter than the land and you want one exposure rather than a blend.
- Variable ND. Two polarising layers that rotate against each other to give a range of densities. Convenient for video; at the extremes they can cross-hatch and tint, and they rarely go beyond 8 or 9 stops cleanly.
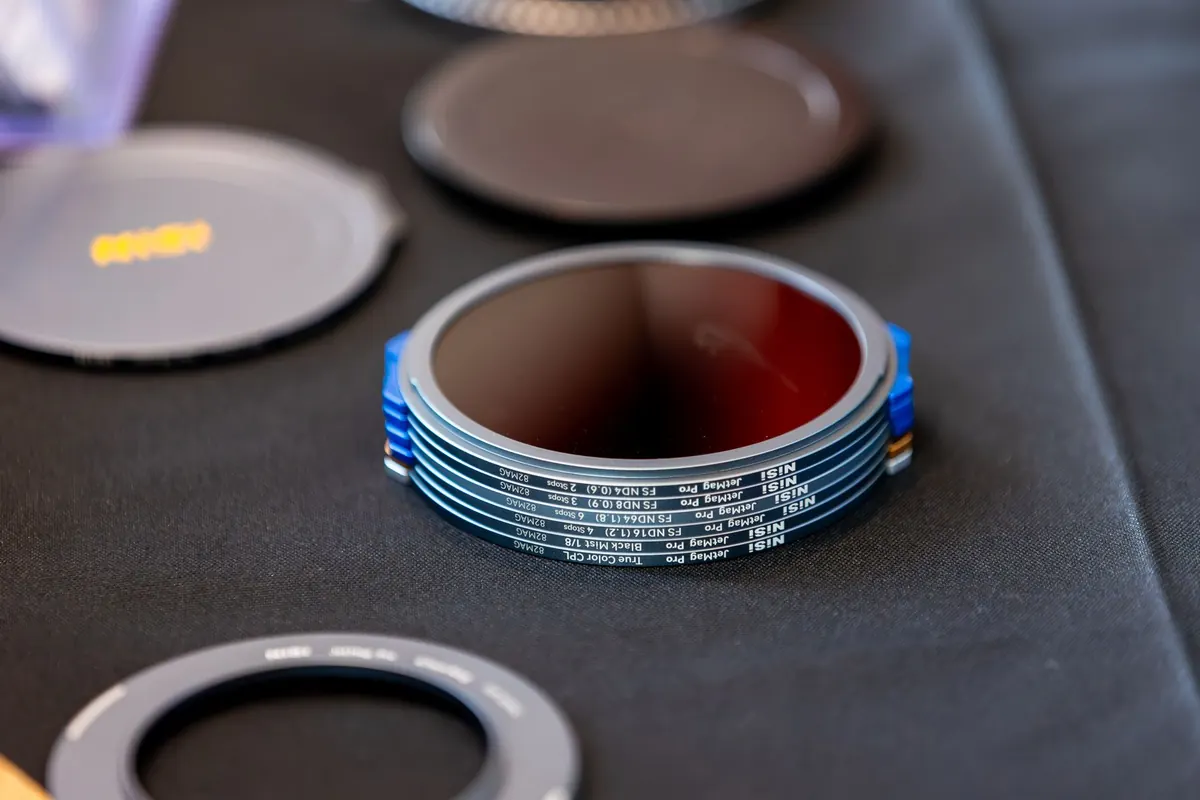
- Screw-in versus square. Screw-ins are compact, cheap to fit one lens size, and awkward to stack. Square systems need a holder and adapter ring, but one set of filters then works across every lens you own, which matters if you shoot ultrawide glass with a bulbous front element.
Waterfalls and burns: choosing a shutter speed
Water is where most people meet ND filters, and where most people overdo it. The shutter speed decides the texture, so think about what you actually want.
- 1/15sec to 1/4sec keeps shape and energy in the flow. You still see individual strands and splash. Useful when the burn is small in the frame.
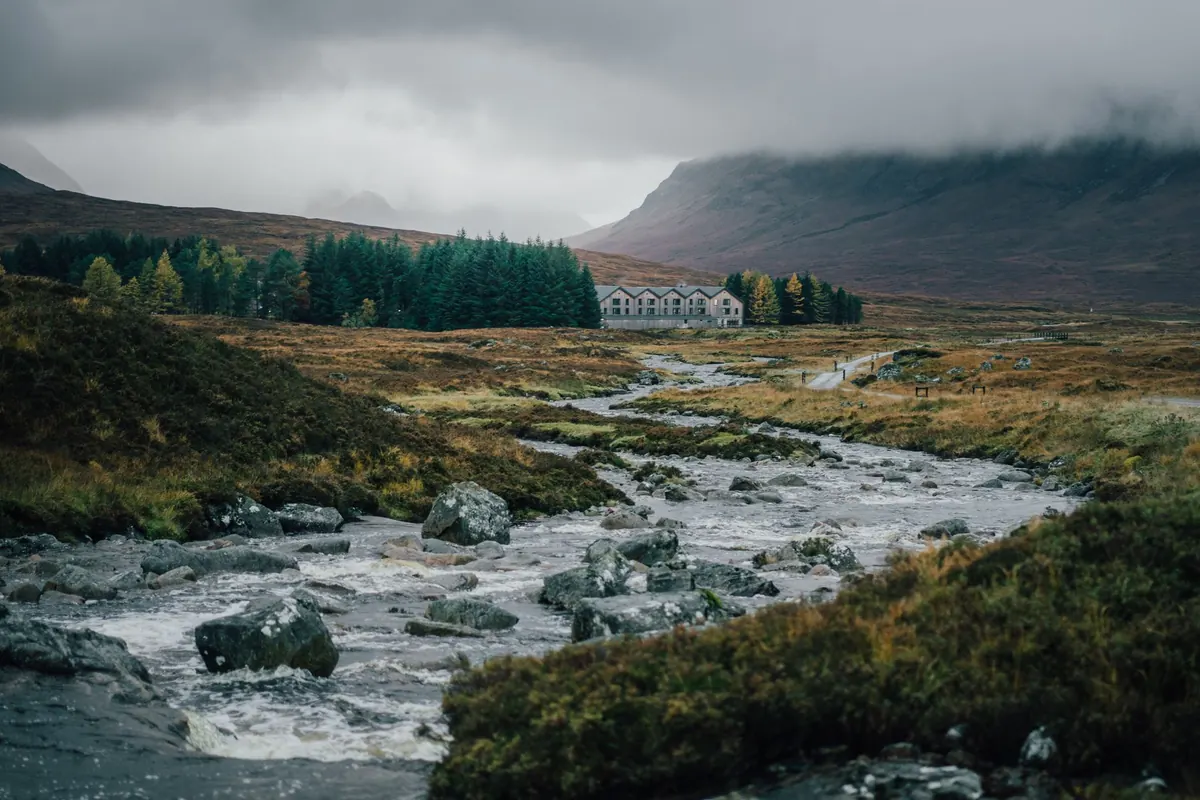
- 1/2sec to 2 seconds is the sweet spot for most falls. Water becomes smooth and continuous, but you can still read the direction of the current and see the rocks beneath.
- 4 to 30 seconds turns a fall into a soft veil and erases most texture. Beautiful in the right place, lifeless in the wrong one.
- Several minutes flattens moving water into mist and any breeze into a smear. Only worth it when the composition can carry that much emptiness.
In deep shade a 3-stop filter often gets you to one or two seconds. In open sun you will need 6 or 10 stops, and even then you may be working past 30 seconds, which means Bulb mode and a remote release. If the light is very bright, a polariser on top of the ND buys you another stop or two — though stack carefully, because two filters on a wide lens is a recipe for vignetting and flare.
Lochs, sea and still water
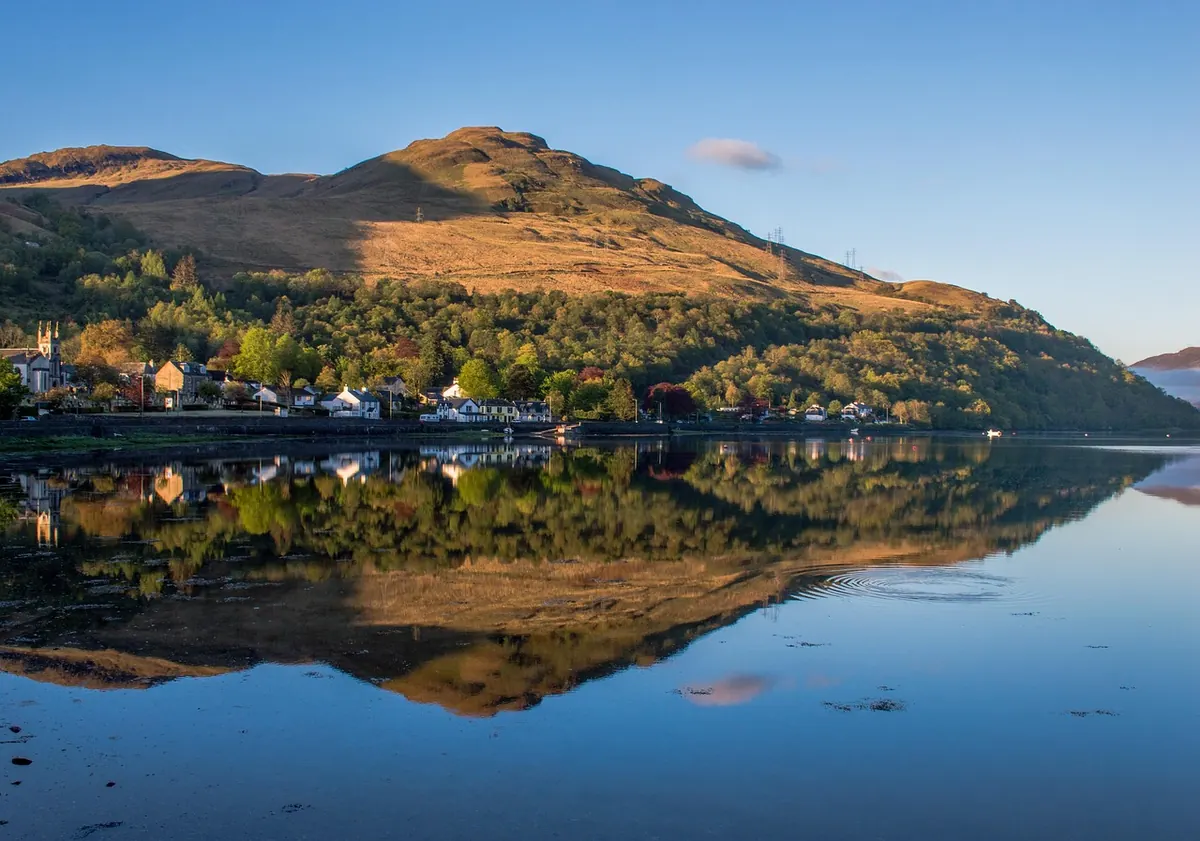
For lochs and coastal scenes the goal is usually less dramatic: you want the water softened so the reflection reads cleanly, without turning it into grey plastic. Two to eight seconds is a good starting range. It smooths the ripples that break up a reflection while leaving enough surface to show that it is water.
Wind is the variable you cannot filter out. On a breezy day a long exposure will blur reeds, grasses and trees as well as the water, which can look intentional or messy depending on the frame. Either shelter behind a bank to keep foreground plants still, or accept the movement and compose so the blurred elements read as motion rather than mush.
Skies, clouds and the graduated ND
Clouds are the other great subject for a solid ND. A 30-second exposure under a moving overcast can pull clouds into long streaks that point towards your subject, adding direction to a flat composition. Ten seconds gives a gentler smear when the clouds are moving fast.
Watch the edge of the frame. Streaking clouds look best when they run diagonally or towards the viewer, and thin, broken cloud records motion far better than a solid grey blanket, which just turns into a uniform wash.
Hard or soft grad?
A hard-edged graduated filter suits a genuinely flat horizon — open sea, a loch with a clean shoreline. A soft-edged grad is the safer all-rounder for mountains, where the transition needs to be invisible. Slide the filter in the holder until the transition line sits just above the brightest part of the land.
When a grad will not work
Trees, crags and jagged skylines poke through the dark part of the filter and get underexposed along with the sky. Rather than fighting it, take two exposures — one for the land, one for the sky — and blend them later. That is often the better tool, and no filter can imitate it.
A working method
- Compose and focus first. With 10 stops of glass on the front, autofocus will hunt or give up. Focus manually on your chosen point, then leave the ring alone.
- Meter without the filter. Manual mode, base ISO, the aperture you actually want. Note the shutter speed the camera suggests.
- Do the maths. Six stops on a 1/60sec reading gives 1 second; ten stops on 1/125sec gives 8 seconds. Metering apps will do it, but counting on your fingers works too.
- Set the exposure, then add the filter. Stay in manual. If the result runs past 30 seconds, switch to Bulb with a remote release or intervalometer.
- Block stray light. Long exposures with a square holder often leak light around the edges. A cloth, a lens cap or a strip of tape across the top of the holder saves otherwise ruined frames. On a DSLR, cover the viewfinder too.
- Trust the histogram, not the screen. Long exposures always look brighter on the back of the camera. Protect the highlights and leave room in the shadows.
Where it goes wrong
The usual culprits are a colour cast on a cheap filter, vignetting from stacking three filters on an ultrawide, and light leaks on anything over a minute. Long exposures also warm the sensor, so switch on long exposure noise reduction if your camera has it and expect to wait while the camera makes a second, dark frame. And keep an eye on the shutter speed itself: it is easy to spend a week making every waterfall look identical. Vary it, and let some frames keep the texture.
Start with two filters
If you are building a kit, a 6-stop and a 10-stop cover the overwhelming majority of landscape situations, with a polariser doing the colour work. Buy the size of your largest lens and use step-up rings on the rest, or go square if you shoot several lenses regularly. Then find a burn or a shoreline near home and shoot the same view at half a second, two seconds and eight seconds. Seeing those three frames side by side will teach you more about when to reach for an ND filter than any article can.
Photo: Sinan KRIYA / Pexels